How to Style and Photograph Your Food Like a Pro...Say What? Say Cheese!

With everyone at home MUCH more these days, we are all more focused (whether we want to be or not!) on cooking at home and trying to make basic dishes (and baking) a bit more exciting.
I’ve teamed up with Lia Littlewood to help bring you some helpful hints on how to style and photograph your own culinary creations. Lia owns a food styling business and charcuterie board company, Say Cheese Bergen County, which curates an array of beautifully styled and delicious dishes. She is also a professional food stylist who works with large food delivery businesses to help market partner restaurants’ dishes.
Read below for a sneak peek at how we partner together to style and shoot fantastic food images. We promise, you can do it all at home and it may even be as fun as eating your food ;)

Say Cheese Bergen County charcuterie dessert board
LINDA: LIGHTING is the number one factor with beautiful images (food or otherwise). Always, always, use natural light when possible. It may seem counter-intuitive, but TURN OFF THE LIGHTS when you’re inside. Interior lighting makes food look unnaturally yellow or orange and you want the food to look as accurate to real-life coloring as possible.
1) Find a good light source: the photo below was shot in Lia’s bedroom on a dresser with great light behind it! In my house, my son’s nursery gets the best light and is my go-to for food and product shots. You don’t need a lot of room. Just open your shades and set up near a window, just not directly in the sun. If your brightest room is too bright, use a bedsheet to hang or tape over the window to diffuse the light a bit. Get creative!
2) Take it outside: The perfect weather to photograph food is an overcast, cloudy day. It gives even but bright-enough light. If it’s sunny out, find a spot in the shade to place your food. When outdoors, you want to make sure your light is even and not too bright. Watch out for dark shadows as that will overpower your images and distract from the food.
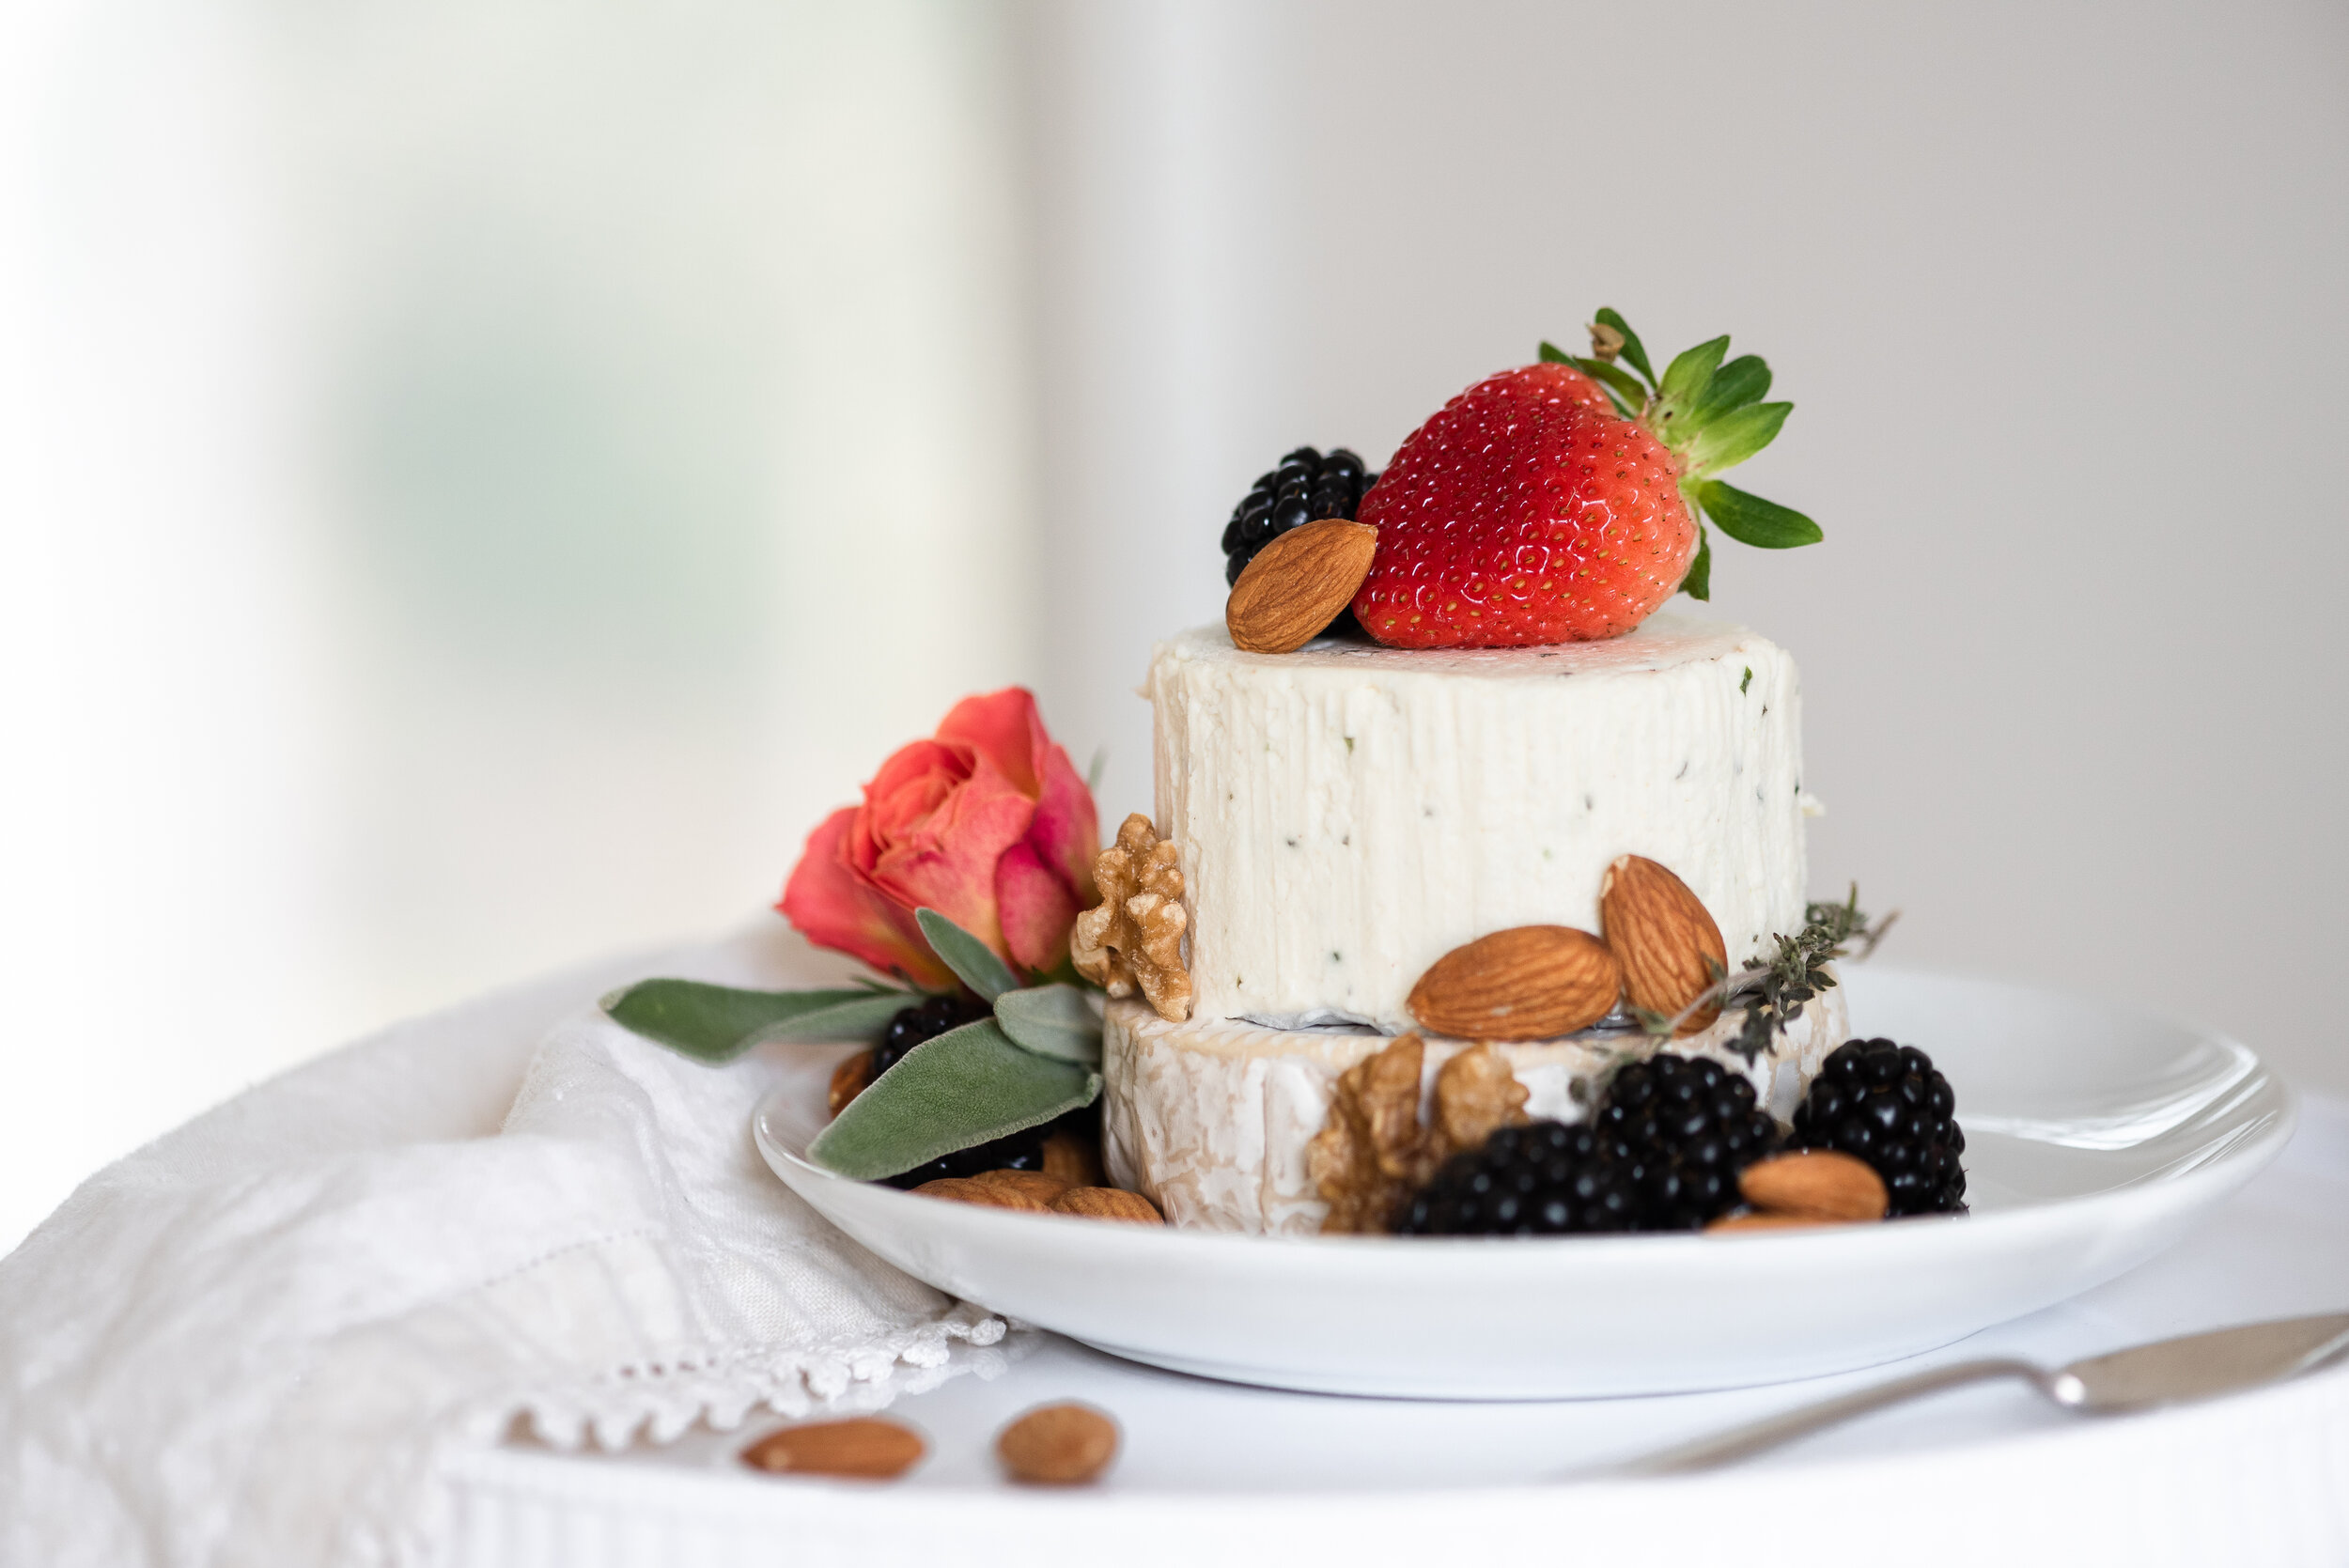
Say Cheese Bergen County decadent “brie cake”
LIA: STYLING
1) Choose simple dishware: Sounds basic, but when you’re just starting out it’s best to let the food do the talking and leave the distracting dishware in the pantry. By having a simple white, pastel or black dish, your food can really stand out.
2) Wipe dishes clean: When you place something in a dish, it can splash on the sides and look messy in a picture. Take a paper towel or Q-tips and make sure the sides of your dishes are clean!
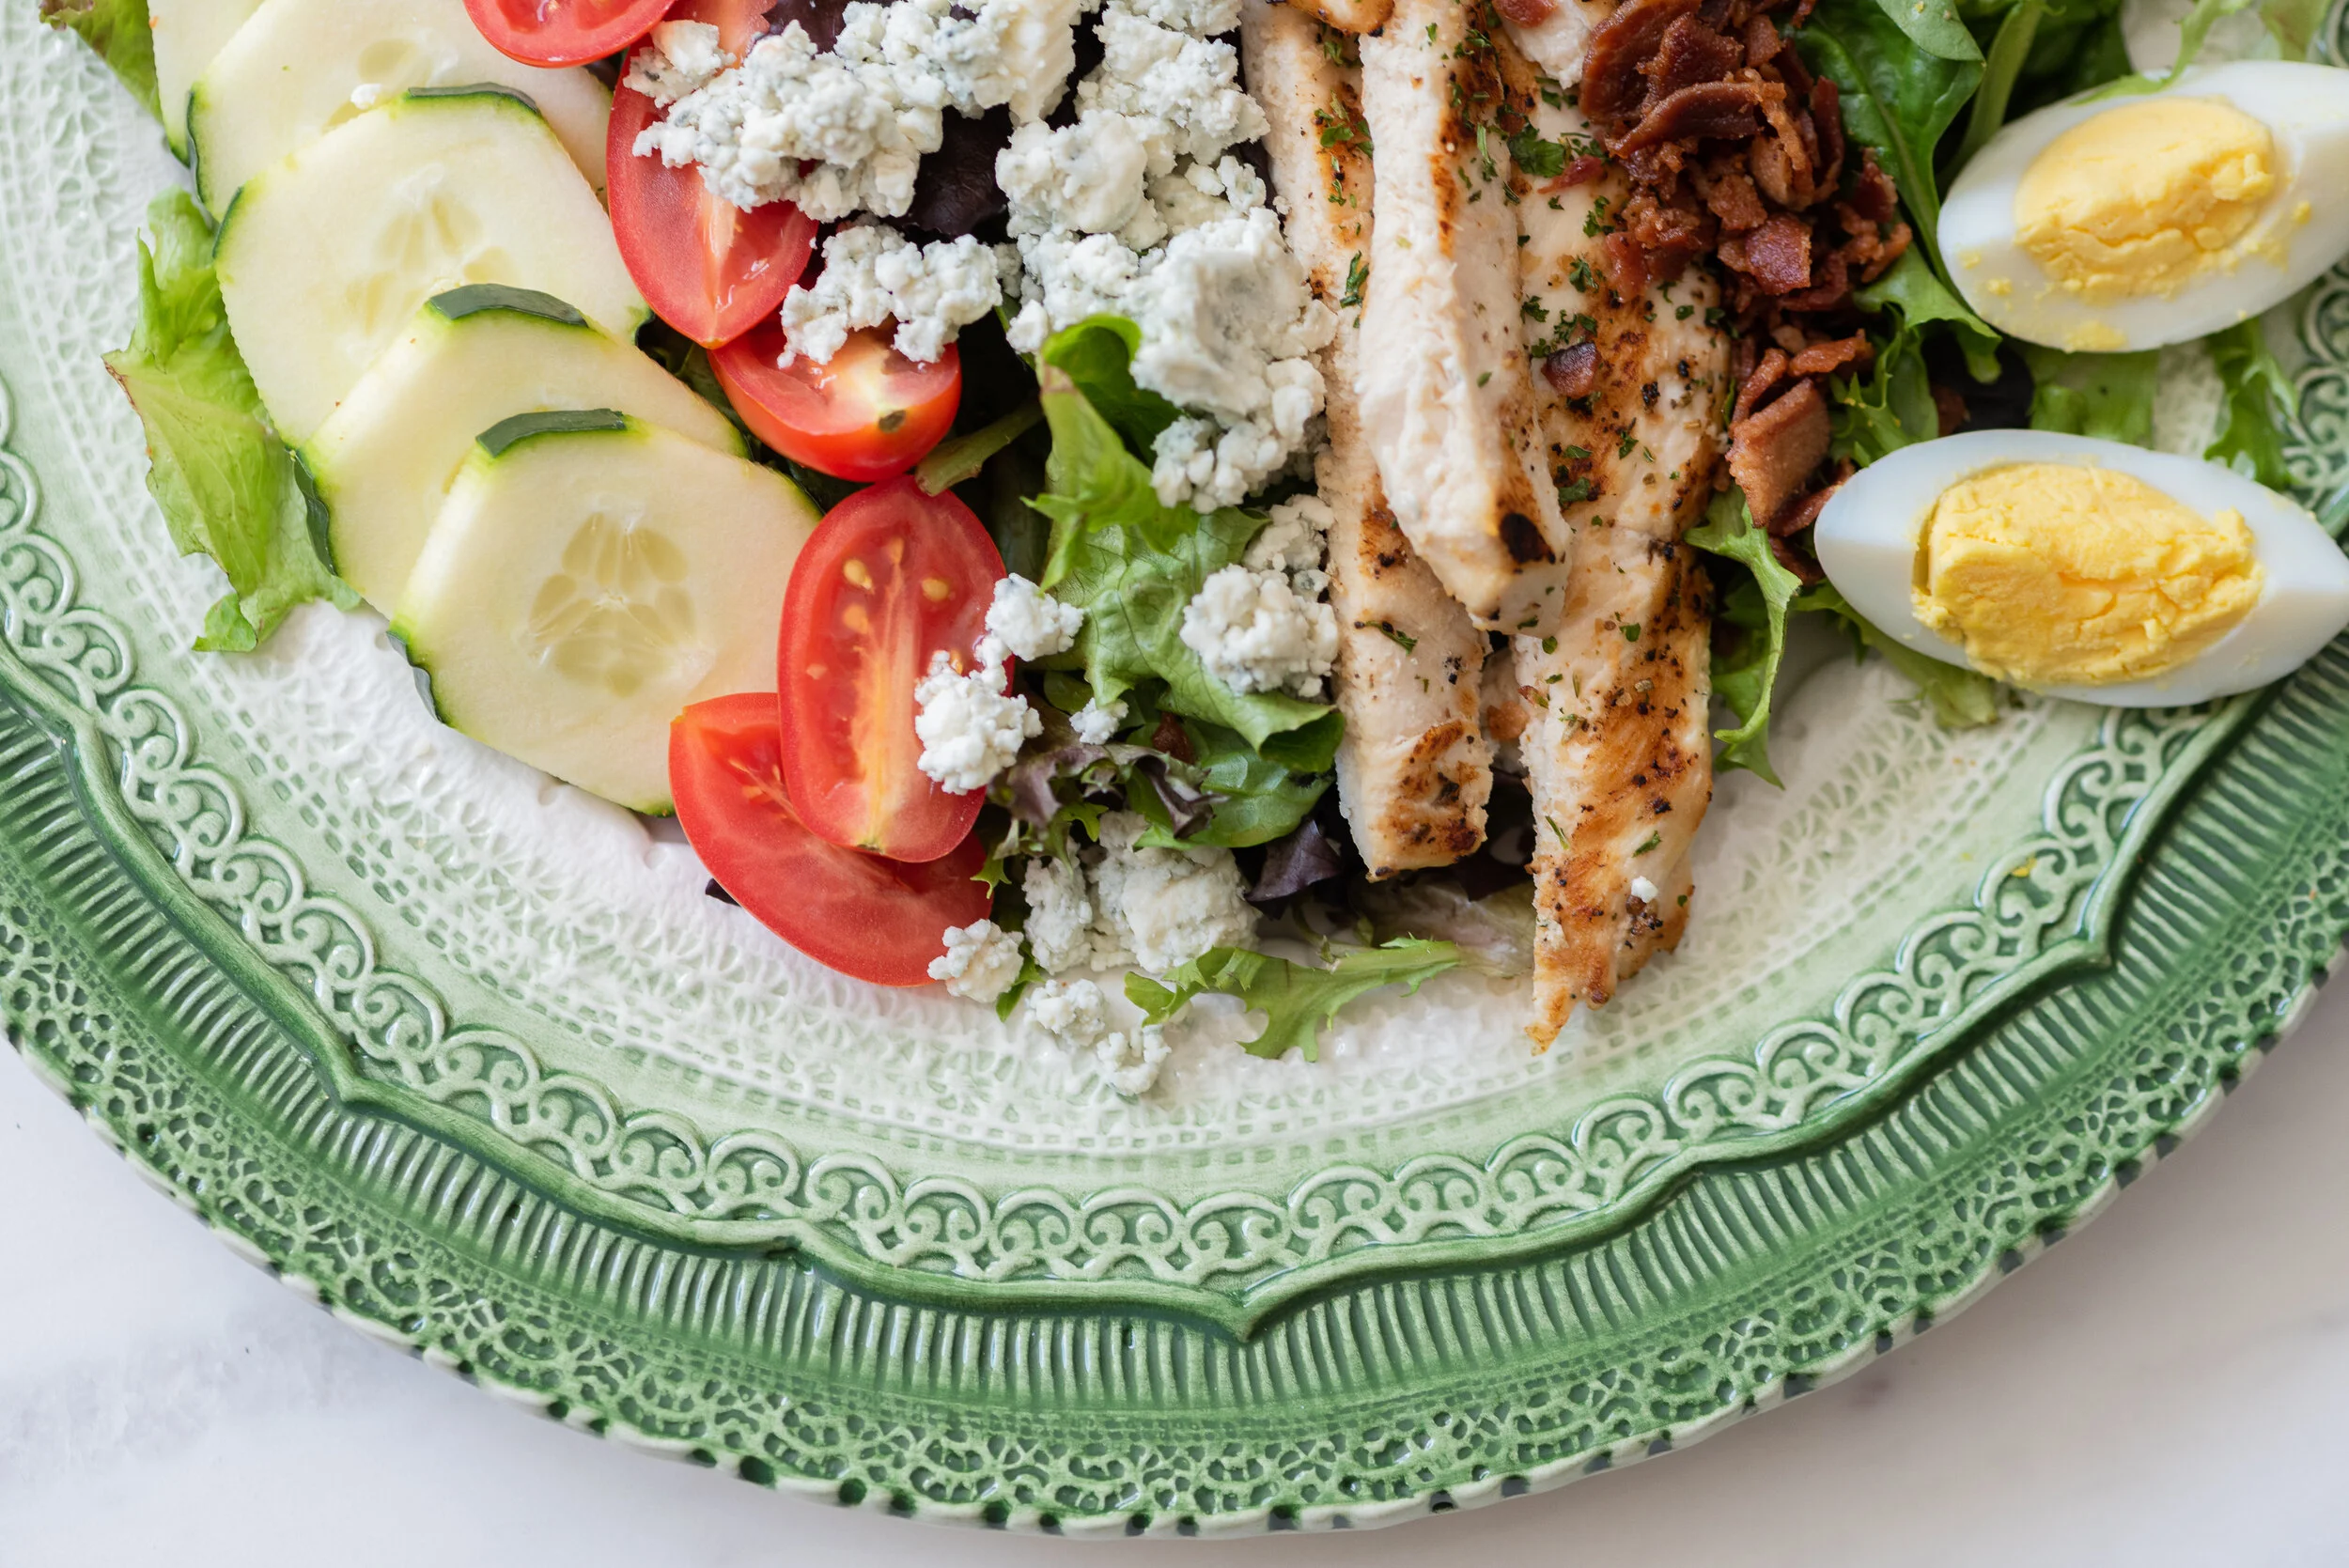
3) Showcase what’s in the dish: Make sure you set your food up so that your viewers can see everything that’s in the dish. If you have some potatoes under a piece of meat, make sure you poke them out so the viewer gets a full idea of what’s in your recipe.

LINDA: BACKDROPS are your best friend. It doesn’t need to be fancy.
It’s easy to use materials around the house. The back of a white foam board left over from child’s school project. A black tablecloth. A clean canvas painted white. Simple and clean lets the food shine through. It’s generally a good rule of thumb to put light food on a light or white backdrop and dark food on dark (see image of dark charcuterie plate on dark vs. white cake on white stand). When in doubt, natural wood tables or cutting boards tend to look great with almost any food.

Lia styling the “brie cake” above behind-the-scenes on Linda’s go-to marble backdrop
LIA: PROPS
1) Garnish: Whatever recipe you’re using, pick out a few of the herbs or spices as a garnish. You can also pick a main fruit or vegetable that’s included in the dish and use the ‘raw’ version on the side to accent. For instance, if you have a cooked pear tart, a pretty idea might be some whole or sliced pears on the side. A big pro rule is never garnish with items that are not included in your dish.
2) Don’t get crazy: When it comes to props, you want to make sure they’re accenting your food, not taking away from the main dish. Use them to help tell the story about your dish. When starting out though, add just a splash of color to your images, a cute fork or spoon, maybe a tea towel or textured napkin. You can find most of these things around your house, it’s great excuse to break out your grandma’s sterling!

LINDA: COMPOSITION vary up your angles. Stand on a stool and take some overhead. Show the entire spread laid out. For taller food, take some head on. Show the layers of a cake. Play around and take multiple angles of each dish to see what works best. Leave enough blank space so the food is the focal point, and the styling doesn’t distract too much. Add in a tiny child’s hand reaching for a cookie. Change it up to show up close, far, and playful!
LINDA: EDITING can go a long way. There are some horrible filters out there but there’s also some good free and cheap phone apps you can use for your camera phone photos. For food and family, I love ColorStory (a lot of the basic free filters are great to your food images clean and bright) as well as the VSCO app. Just make sure the color is accurate the color of your food (aka your greens should stay green!). My last tip (and one of the most important) is straight lines. It’s something I see even pros get wrong but makes all the difference in professional looking images (food or otherwise). Put the grid lines on your iPhone (settings -> camera -> grid set to green) and you are good to go. Viola!

LIA & LINDA: LASTLY - HAVE FUN! Most of all –make sure you have as much fun as we do styling (and eating) all these delicious dishes! And if it doesn’t look perfect…always blame it on your kids ;)
Credits:
Photography: Linda Pordon Photography
Styling: Lia Littlewood, Say Cheese Bergen County
Microgreens: Bergen Greens
Florals: The Little Flower Shoppe & Piece & Pollen
Tableware & Linens: The Table at Latona’s
Restaurant dishes noted in image captions